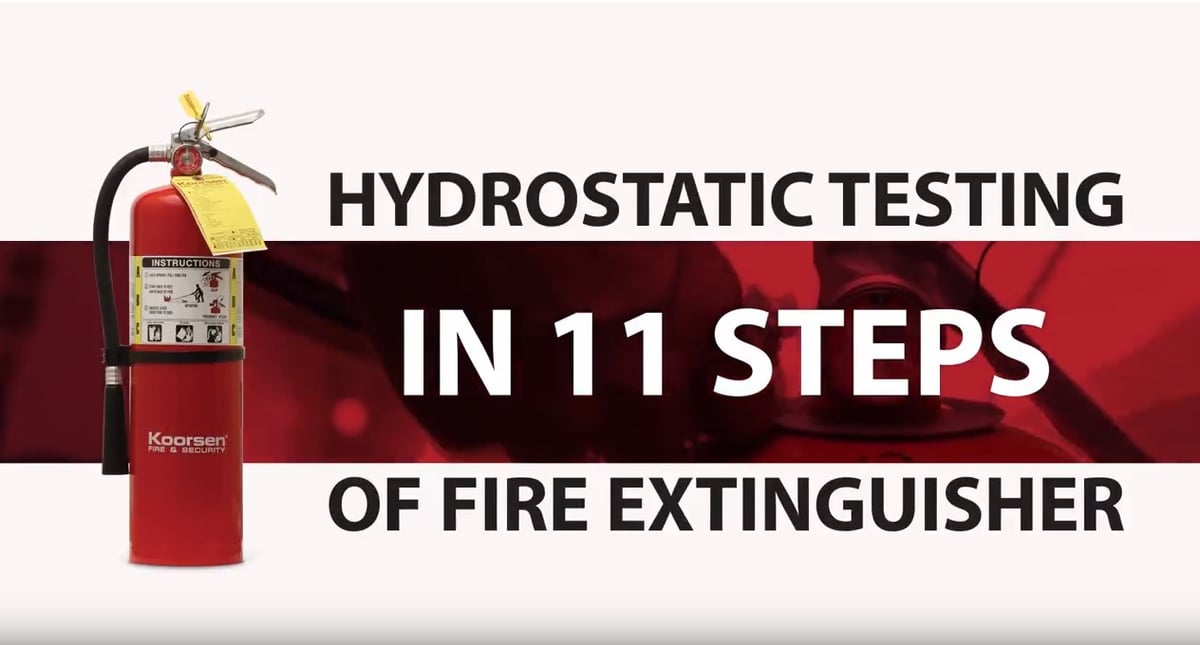
ABC fire extinguishers are the most common type of fire extinguisher used in businesses today. The widespread use of the ABC fire extinguisher is due to the many different types of fires for which it is effective, which include:
- “A” class fires resulting from ordinary combustibles, such as wood and paper
- “B” class fires that result from combustible liquids like kerosene, oil, and grease
- “C” class fires caused by the combustion of circuit breakers, wires, outlets, and other electrical devices and equipment
In order to ensure that ABC fire extinguishers are reliable, the National Fire Protection Association (NFPA) 10 requires monthly inspections, annual maintenance inspections, and hydrostatic testing of the extinguishers.
Visual inspections should be conducted on a monthly basis. In addition to checking that your fire extinguishers are located where they should be and easily accessible, inspections should verify that:
- The cylinders are full (by lifting or weighing them if possible)
- The safety seals are not broken or missing
- There is no evidence of physical damage, corrosion, leakage or that the nozzle is clogged
- The pressure gauge readings are in the proper range or position
- The operating instructions are legible and facing outward
During the annual maintenance inspection, a technician will also visually inspect the fire extinguisher but they’ll also remove the tamper seal and operate the pull pin or locking device. After testing the pull pin, a new tamper seal is installed.
In addition to monthly and annual inspections, the NFPA requires ABC fire extinguishers be hydrostatically tested every 12 years. Hydrostatic testing involves subjecting the fire extinguisher cylinder to pressures that exceed its rating to ensure it is still capable of maintaining the pressure necessary to discharge properly in the event of a fire.
Given such a long interval between hydrostatic tests, Koorsen Fire & Security is providing this post to encourage businesses to check their units now to ensure they are not overdue for the required testing and to illustrate what the testing process entails.
Note that this post pertains specifically to rechargeable fire extinguishers, not those designed for one-time use. If you cannot tell from the label on your extinguisher whether it is rechargeable or designed for one-time use, check the valves -- disposable extinguishers have plastic valves while rechargeable units have metal valves.
The following steps provide a summary of how Koorsen conducts hydrostatic testing to help you ensure your fire extinguisher will work when you need it.
Step 1: Visually Inspect the Extinguisher
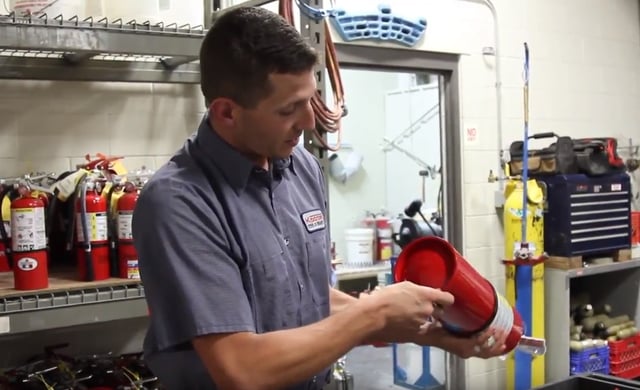
A hydrostatic test always includes both an internal and an external visual examination of the cylinder including under the nameplate or name band assembly if they are removable. The purpose of the visual inspection is to find anything that may compromise the integrity of the cylinder. This is important because hydrostatic testing is performed by putting the extinguisher under pressure, and testing a damaged cylinder can result in injury. In this first step, we inspect the exterior of the fire extinguisher looking for:
- Cylinder threads that are worn, corroded, broken, cracked or nicked
- Corrosion on the cylinder that has caused pitting
- Dents that are deeper than 10 percent of their surface area
- Any evidence of repair or that the extinguisher has been misused
- Any evidence that the extinguisher has been exposed to excessive heat, fire or flame
If any of these problems are observed, the extinguisher cannot be safely tested but should instead be removed from service. In addition, any extinguisher that has a copper or brass shell joined by soft solder or rivets is now considered by the NFPA as obsolete and also must be removed from service.
Step 2: Take the Hose Off
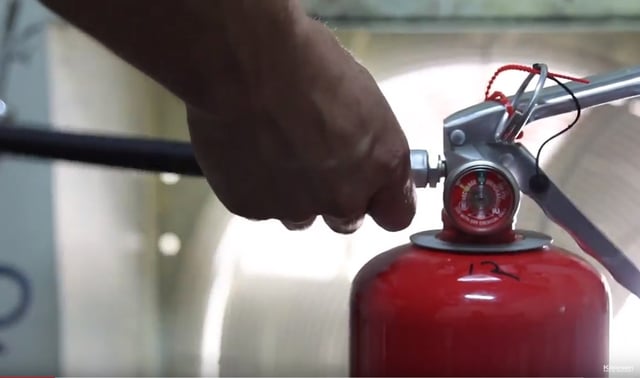
Remove the hose from the extinguisher and replace it with a hydrotest/recharge adapter to capture the extinguishing agent when discharging the extinguisher.
Step 3: Discharge the Extinguisher
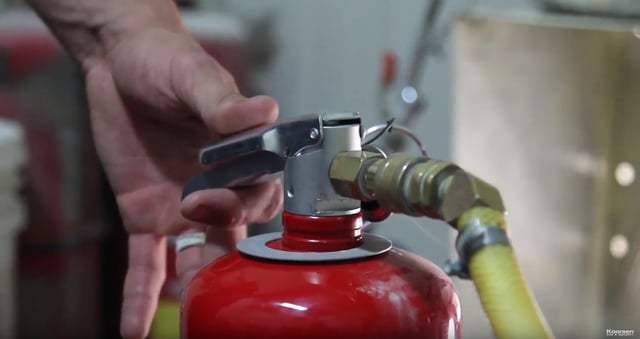
Next, we discharge the extinguisher fully prior to testing so that no traces of the extinguishing agent remains.
Step 4: Remove the Valve
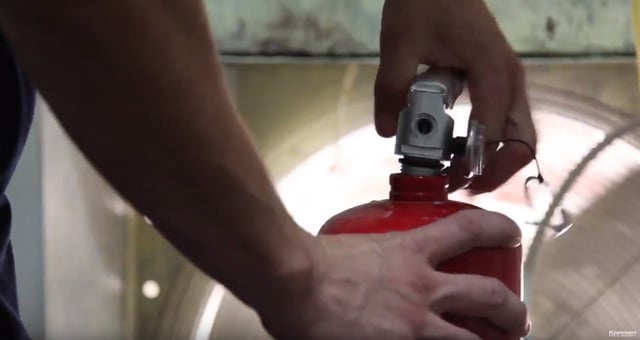
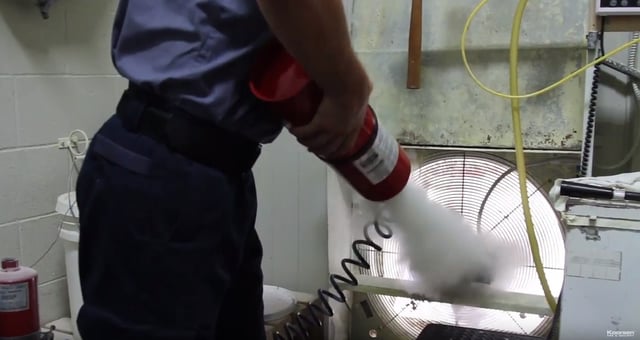
Once the extinguisher is fully discharged, we can safely remove the valve to inspect the interior of the cylinder. Before inspecting, we blow out any remaining traces of extinguishing agent with an air hose, as shown below. When inspecting the interior of the cylinder, we are looking primarily for any pitting that could compromise the cylinder. If pitting is found, the fire extinguisher cannot be tested but instead removed from service.
Step 5: Run a Pressure Test
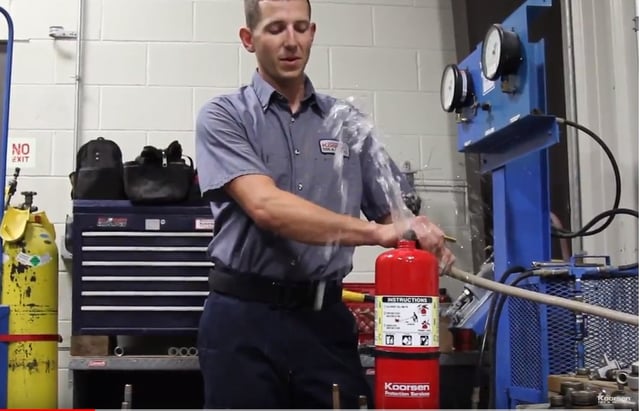
In accordance with NFPA 10, we use water for all hydrostatic testing of ABC fire extinguishers.
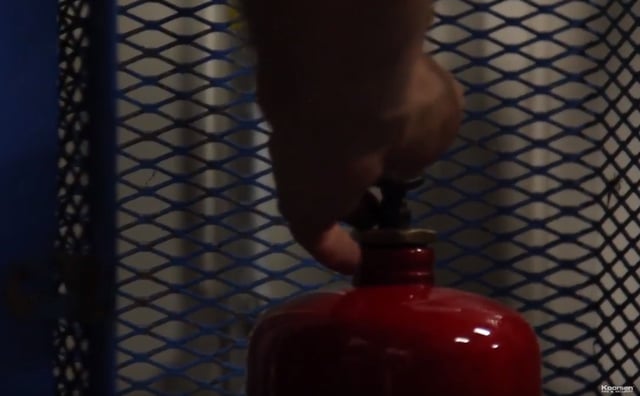
For safety reasons, the cylinder must be tested within a protective cage device or placed behind a protective shield that allows visual observation while the cylinder is under pressure.
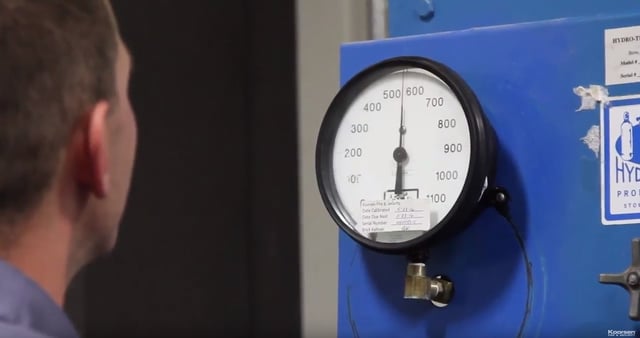
During the hydrostatic testing, we test the cylinder. While testing the cylinder, we're watching the test gauge for a drop in pressure, which would indicate a leak in the cylinder.
It is important to note that a failure of the cylinder to hold pressure means the extinguisher must be retired. Fire extinguishers that fail their hydrostatic testings cannot be repaired. Rather, they must be permanently removed from service (i.e. condemned).
Step 6: Drain, Clean and Dry the Cylinder
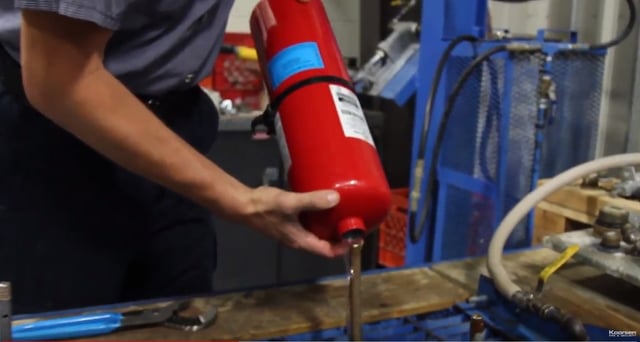
After testing, we drain the water and thoroughly dry the cylinder before reassembling the extinguisher.
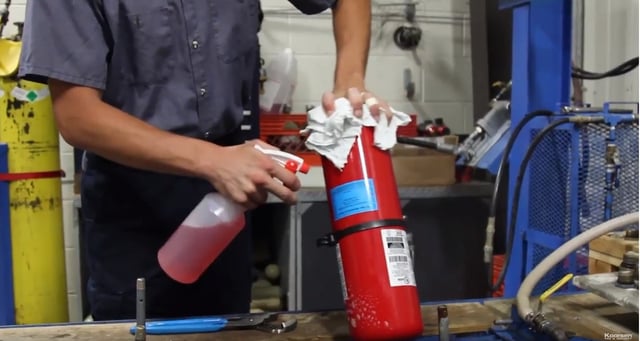
Step 7: Replace the Old Valve Stem and O-ring
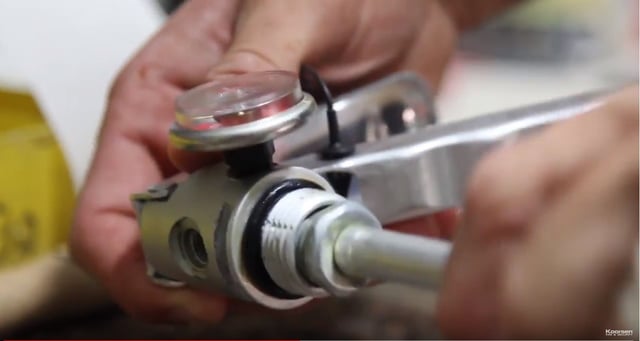
The valve stem and O-rings are considered wear items. When we reassemble the fire extinguisher, we replace them with new ones.
Step 8: Fill the Cylinder with ABC Powder
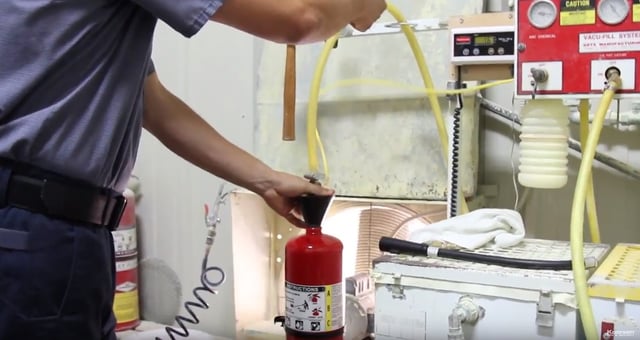
Once reassembled, we can fill the cylinder with the extinguishing agent.
Step 9: Apply the Service Collar, ID and Labels
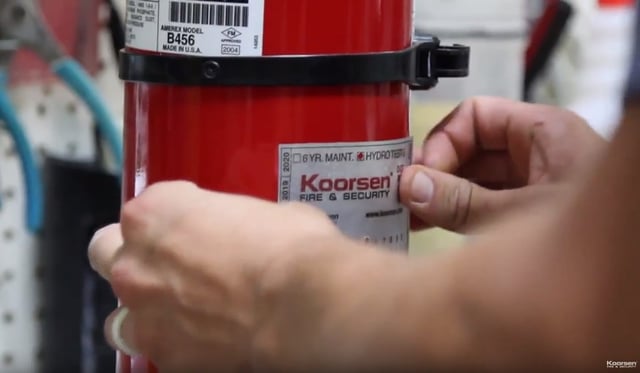
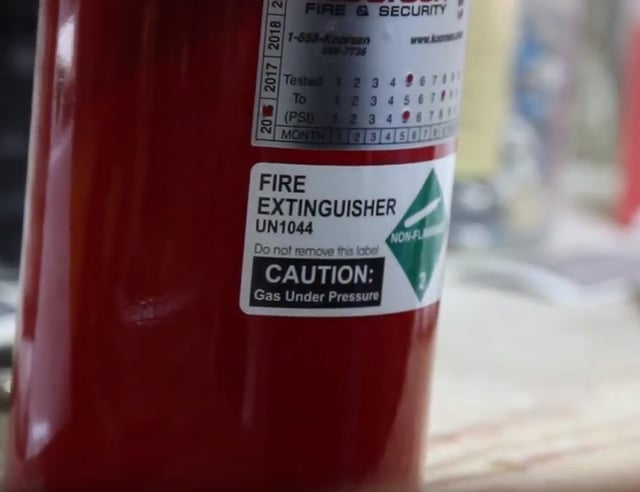
Applying the service collar, ID, and weatherproof labels is an important step in ensuring compliance with the NFPA code. They indicate:
- The month and year the hydrostatic test was performed
- The pressure at which the unit was tested
- The name or initials of the technician who performed the test and the name of the agency/company responsible for the test results.
Step 10: Pressurize the Cylinder
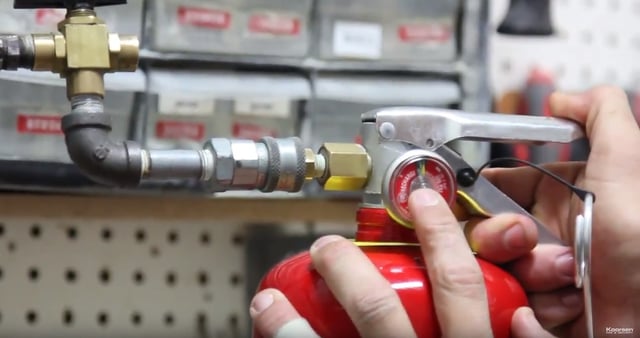
With labels intact, the cylinder is ready to be pressurized.
Step 11: Install the Tamper Seal and Hose
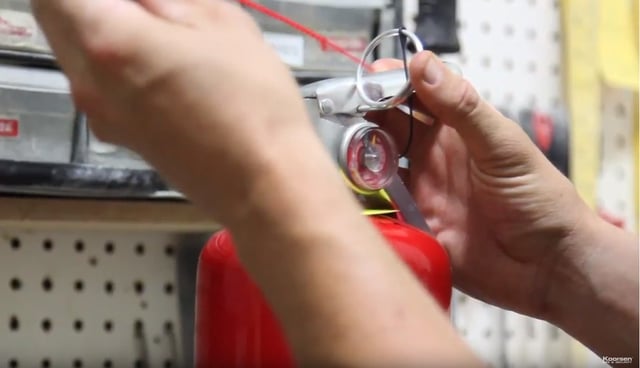
The last step is to install the tamper seal and hose. The hose must be thoroughly dry before reattaching it to the extinguisher. Once fully reassembled and the tamper seal intact, your fire extinguisher is once again ready for use. And, with the Koorsen Fire & Security label on it, you can be confident that it will perform as expected if needed.
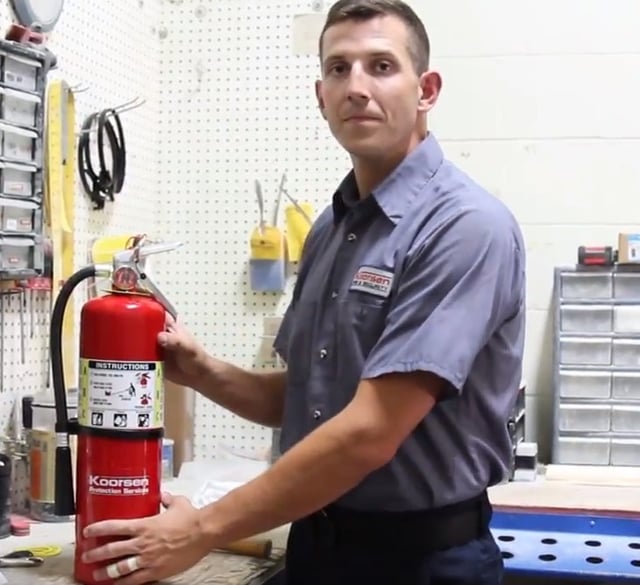
For safety reasons, hydrostatic testing should only be performed by individuals and in facilities certified for hydrostatic testing. Koorsen can help you stay on schedule with hydrostatic testing of all your fire extinguishers.
Koorsen's testing facilities and equipment meets all NFPA requirements for the testing of ABC fire extinguishers including:
- Test pressure gauges that are calibrated semiannually and certified accurate to ±0.5 percent , or better, of the full range of the gauge. Our gauges are also capable of indicating 90 percent to 110 percent of the test pressure and of being read to within one percent of the test pressure.
- Protective cages that allow us to clearly observe the components of the fire extinguisher we are testing while under pressure.
- Flexible connections between the test pump and the test cylinder that allow us to test through the cylinder opening, test bonnet, hose outlet, or nozzle, as needed.
With a testing requirement to meet once every 12 years, it's all too easy to lose track of when the next test is due. If you haven't checked your fire extinguishers recently, we encourage you to do that now. Check out our video showing hydrostatic testing in action here and contact one of Koorsen Fire & Security's certified technicians today with any questions you have about this important requirement.


